Showing posts with label Spiderweb stencil. Show all posts

Monday, October 4, 2021

Inky Paws Challenge #158 - Color Challenge Reminder

 Hi everyone!  This is an Inky Paws Challenge reminder post!  It is a Color Challenge, and the colors are Orange, Brown, Teal, and Kraft.  You have until Friday, October 8th to get your entries in and have a chance to win a $20 store credit to Newton's Nook Designs online shop!  
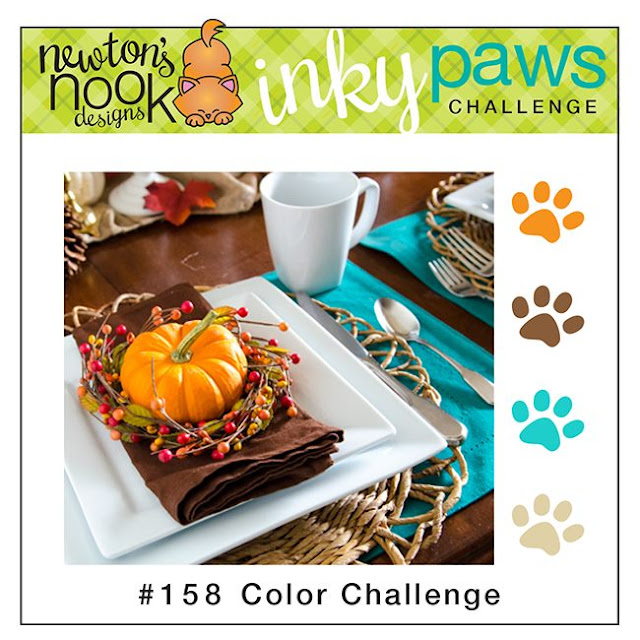
Newton's Nook Designs Inky Paws Challenge - Color Challenge

Witchy Newton Stamp and Die Set, Spooky Roundabout, Spooky Street Stamp Set, Spiderweb Stencil, Frames and Flags Die Set, Banner Trio Die Set by Newton's Nook Designs #newtonsnook #handmade

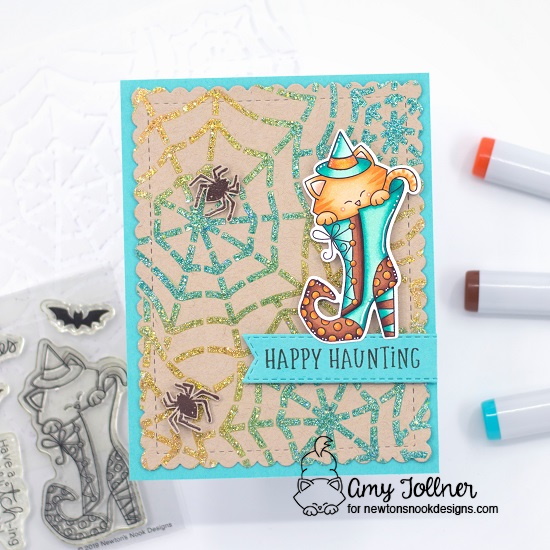
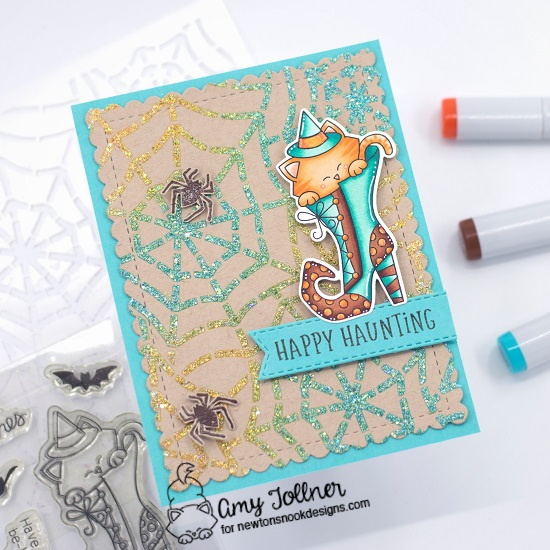
To start this card I cut a teal cardbase to A2 size.  I then die cut a piece of Kraft cardstock with the scalloped frame in the Frames and Flags Die Set.  I used the Spiderweb Stencil with Distress Oxide Inks Spiced Marmalade and Peacock Feathers.  Leaving the stencil in place, I applied a layer of glitter paste to give the spiderweb some sparkle!  
Witchy Newton Stamp and Die Set, Spooky Roundabout, Spooky Street Stamp Set, Spiderweb Stencil, Frames and Flags Die Set, Banner Trio Die Set by Newton's Nook Designs #newtonsnook #handmade

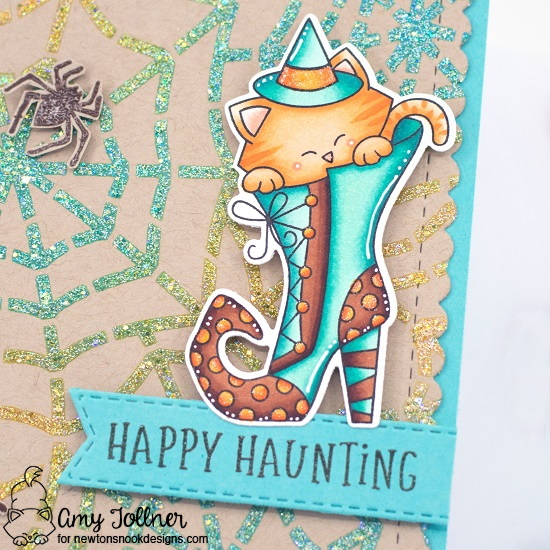
Next, I stamped out one of my favorite Halloween images, Witchy Newton!  I colored the image with Copic markers, and cut it out with the coordinating die set.  I stamped a couple of spider images from the Spooky Street Stamp Set in brown pigment ink on Kraft cardstock, clear heat embossed them, and fussy cut them out.  
Witchy Newton Stamp and Die Set, Spooky Roundabout, Spooky Street Stamp Set, Spiderweb Stencil, Frames and Flags Die Set, Banner Trio Die Set by Newton's Nook Designs #newtonsnook #handmade

I used the stitched fishtail banner in the Banner Trio Die Set to cut a piece of teal cardstock for my sentiment.  I stamped the sentiment, which is from the Spooky Roundabout, in brown pigment ink and clear heat embossed for some shine!  I then adhered all of my images with foam tape for some dimension!  
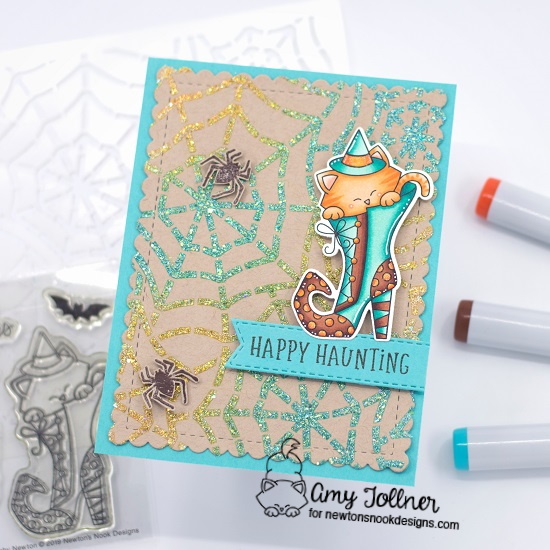
Witchy Newton Stamp and Die Set, Spooky Roundabout, Spooky Street Stamp Set, Spiderweb Stencil, Frames and Flags Die Set, Banner Trio Die Set by Newton's Nook Designs #newtonsnook #handmade

For finishing touches on this card I added white gel pen accents, glitter with a glitter pen, and glossy accents to Newton's cute little nose!  Now it's time to get your paws inky creating a project for the Color Challenge using your Newton's Nook Designs products.  Be sure to link up to the Inky Paws Challenge!  Hope to see you there!

Wednesday, September 9, 2020

Newton's Costume Party Slimline Card

 Hi everyone!  Today I am sharing another Halloween card I made for Newton's Nook Designs Inky Paws Challenge #131 - Color Challenge.  The colors are Purple, Orange, White, and Teal.  It seems I have been into making Halloween cards lately! 


I started this card by cutting a piece of teal glitter card stock to 8 1/2" by 3 1/2".  I used the scalloped slimline die from Newton's Nook Designs Slimline Frames and Portholes die set to cut a piece of white card stock on which I blended Distress Oxide Ink colors Shaded Lilac, Wilted Violet, and Seedless Preserves.  I then used Wilted Violet and Seedless Preserves with NND new Spiderweb stencil.  I used liquid glue to adhere the ink blended panel to the teal glitter card stock.  Next, I used the Portholes die to cut another piece of teal glitter card stock which I attached to the ink blended panel with foam tape for some dimension.

I then stamped out my super cute images from the Newton's Costume party stamp set, and the now retired, Boo Crew stamp set.  I had stamped out a bunch of candies from the NND Hoppy Halloween stamp set when I made the Hoppy Halloween Slimline card, and had enough left over to use on this card as well!  I colored all of the images with Copic markers and cut them out with their coordinating dies, except for the Boo Crew images, which I fussy cut.  After figuring out the placement for each image, I stamped the sentiments with black pigment ink, then attached my images with liquid glue and foam tape.  


Copic Colors used for Shark Newton:
  • Y35, Y17, YR15, YR16 - stripes
  • Nose - R20
  • BG11, BG23, BG13, BG49
  • C0, C1
Bunny:
  • C0, C1
  • Ears - R00, R11, R20
  • Nose - R11
  • V01, V12, V04, V17
Ghost Newton:
  • Y17, YR15, YR16, YR18
  • Ears - R11, R20, R32
  • BG0000, BG000, BG11
Unicorn Newton:
  • Y35, Y17, YR15
  • Ears - R00, R11, R20
  • Nose - R11
  • Wings - BG0000, BG000, BG11
  • V01, V12, V04, V17
  • BG11, BG23, BG13, BG49
Candies:
  • V01, V04, V17
  • Y17, YR16, YR18
  • BG11, BG23, BG49

To finish off this card I added glitter with a glitter pen, glossy accents, and some color coordinating crystals!  Thank you and I hope you enjoyed my card today!

Saturday, August 29, 2020

SSS Wednesday Challenge - Anything Goes

 Hi everybody!  Today I am sharing a super fun and glittery shaker card I made for Simon Says Stamp Wednesday Challenge - Anything Goes.  I am so happy because I was able to use my fluorescent Copic markers again for this card!  The sugar skulls from the new Whimsy Stamps Sugar Skulls stamp set are perfect to use them with!  

If you are like me, then you HAD to get the fluorescent Copics because they are so bright and beautiful!  After I bought them though, I found myself wondering what I could use them on.  I am getting better at finding stamps I can use them with, and am going to try my best to keep bringing you examples of cards using the fluorescent Copics.  If you would like to see cards I have previously made with them, please click here and here.  Now, on to today's card!  


For the background I used the awesome new Newton's Nook Design's Spiderweb stencil with purple glitter paste on black paper.  I set that aside to dry, and used the second largest die from My Favorite Things Stitched Rectangle Frames die set to cut out the purple glitter frame, and black paper for the sentiment.  I stamped the sentiment from the Sugar Skulls stamp set with embossing ink and white heat embossed it.  After the spiderweb was dry, I used liquid glue to adhere the sentiment piece to the background piece.  I attached a piece of acetate to the purple glitter frame and dabbed it with a dryer sheet to help avoid static.  After putting the sequins down, I used two layers of foam tape around the frame, and adhered it to my card base.  

With the shaker complete, I stamped two of the super cool sugar skull images with black dye ink on Copic friendly white paper.  I left stamps in place in my stamp positioning tool, and colored the images with the fluorescent Copics, and a couple of grays for shadowing.  After I was done coloring, I re-stamped the images with black pigment ink and clear heat embossed them.  I fussy cut the skulls out and attached them to my card using liquid glue and foam tape.  Since the black pigment ink is so dark, it really makes the fluorescent colors pop! 


Copic Colors used:
  • FRV1, FYR1, FY1, FYG1, FV2, FYG2, FBG2, FB2
  • C0, C1
This may be a surprise, but I actually didn't add anymore glitter to this card!  Between the purple glitter border and frame, and purple glitter spiderweb, I figured this card was glittery enough!  The fluorescent Copics are so much fun to create with that I hope I was able to inspire you to give yours a try.  Thank you and I hope you have a great day!